...in 962 easy to follow steps!
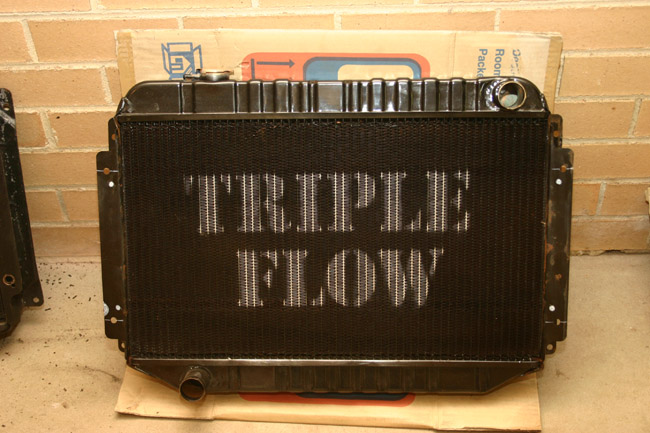 |
Here's my brand spanking new Aussie Desert Coolers radiator. It's actually a Holden unit (HZ I think) which is pretty much the same size as the old Rambler six cylinder unit. But (as you can clearly see), this one's a 'TRIPLE FLOW'! |
| Here's the old one. As you can see, it's pretty rooted. Only thing required to fit it o the Rambler is to drill new holes and cut that small notch on the lower left hand side to clear a swage line in the radiator support panel. | 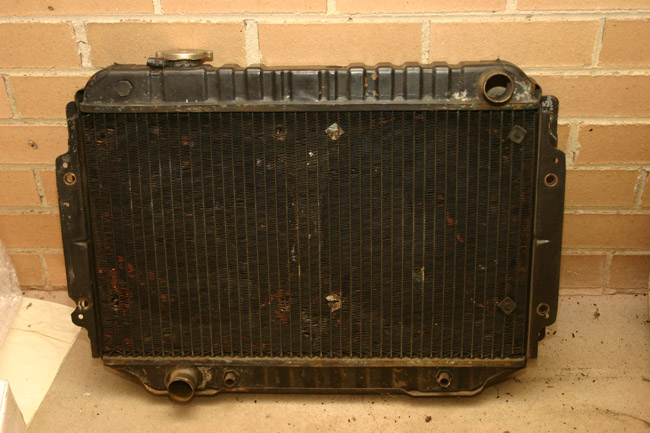 |
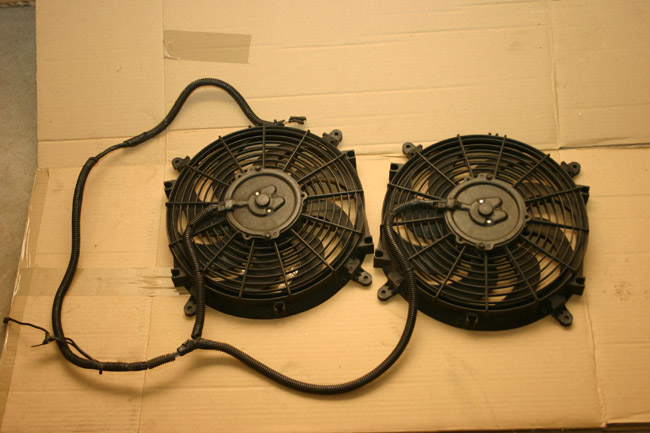 |
These are the Repco thermo fans that I have always run on the car. They're 11 inches in diameter and pretty much cover the whole area of the radiator. |
|
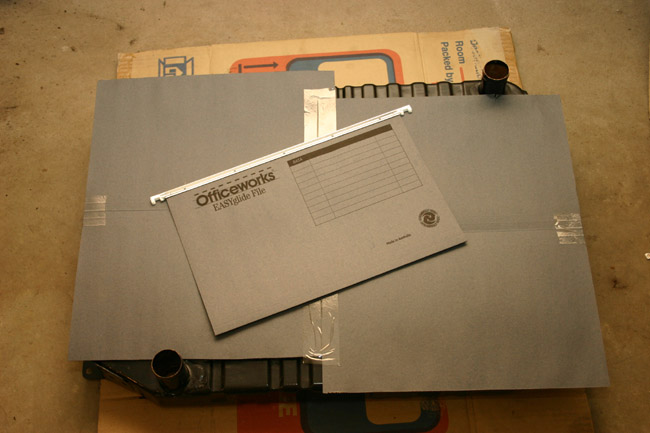
I've never done anything like this before, so I pretty much made it up as I went along. I figured a template would be a good place to start. Didn't have any spare cardboard laying around, but I've got heaps of file hangers. |
 |
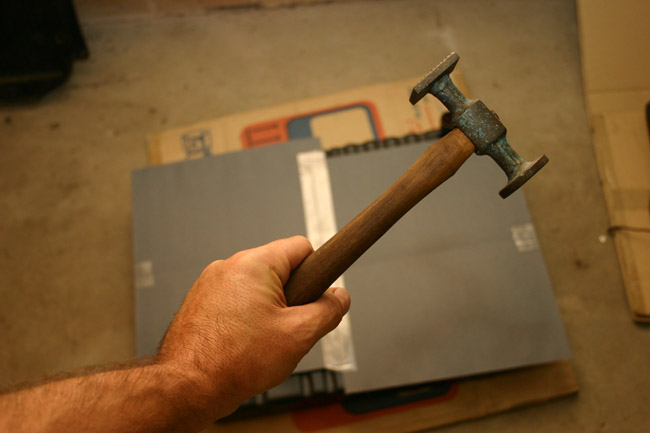 |
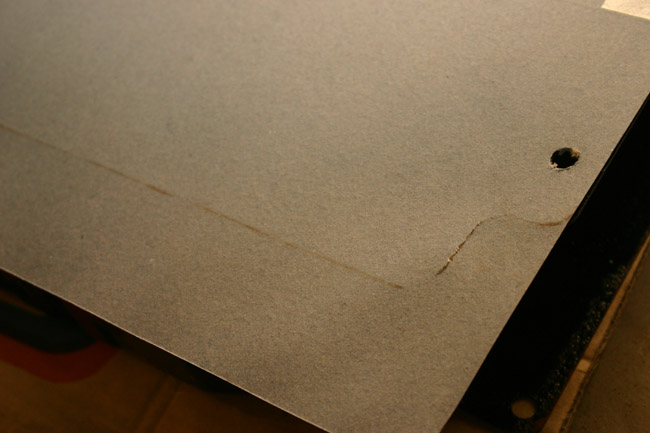
To 'trace' the shape I needed, I figured that tapping the cardboard lightly with hammer would leave me a mark that I could follow. |
|
Using a grotty hammer helps heaps! As you can see, there's a pretty obvious indication of the shape required. |
 |
 |
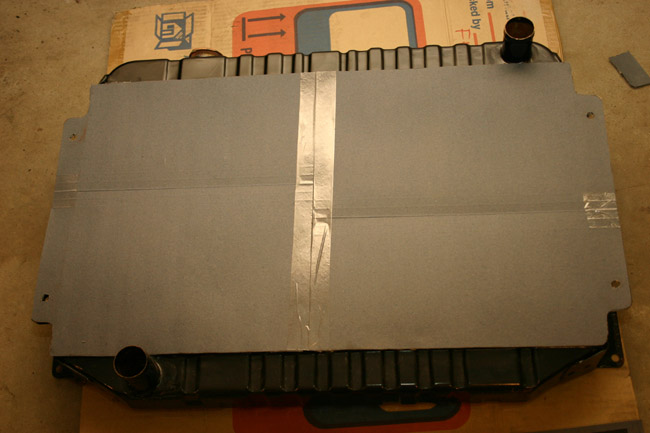
The plan was to use the radiator mounting holes to mount the shroud, effectively sandwiching the radiator between the shroud and mounting panel. |
|
The shape was then cut out. Now remember kids, if you're using sharp scissors, make sure you get your Mum or Dad to help you. It's much better if they cut their fingers off! |
 |